
Essential Editing Tools for Every Photographer
Have you ever taken a stunning photo, only to find it looks a little dull in your camera roll? Editing is where the magic happens! Let’s explore essential editing tools that can help you transform your images into breathtaking works of art.
What Are Editing Tools?

Editing tools are software programs or apps that allow you to enhance your photos. You can adjust colors, remove blemishes, and add creative effects. Think of them as your digital paintbrushes and canvases. Every photographer, whether a beginner or a pro, needs a solid set of editing tools.
Why Do You Need Editing Tools?
Editing tools help you tell a story through your images. They allow you to:
- Enhance colors and lighting.
- Crop and straighten images.
- Remove distractions or unwanted elements.
- Add creative touches or effects.
Research shows that edited photos receive 40% more engagement on social media. This means that investing time in editing can significantly increase how your work is received!
What Are the Best Editing Tools for Photographers?

Now, lets dive into some of the most popular editing tools you should consider.
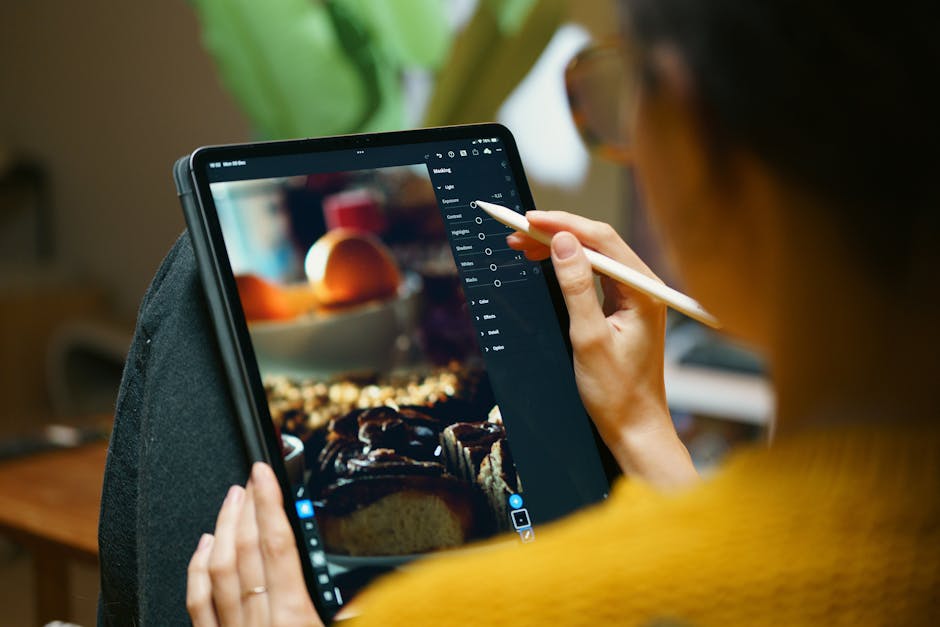
1. Adobe Lightroom
Lightroom is a favorite among professional photographers. It offers a wide range of features for both editing and organizing photos. You can adjust exposure, contrast, and color balance with ease.
Lightroom also supports RAW files, which retain more detail than regular JPEGs. This is crucial for high-quality edits.
2. Adobe Photoshop
Photoshop is another powerhouse tool. it’s perfect for detailed work, like retouching portraits or creating composite images. If you want to remove a person from a photo or change the background, Photoshop is your go-to.
Although it can be complex, many online tutorials make it easier to learn.
3. Affinity Photo
Affinity Photo is a great alternative to Photoshop. It has many similar features but comes at a one-time cost instead of a subscription. it’s user-friendly and packed with tools for editing and retouching.
4. Capture One
Capture One is a favorite for those who shoot in RAW format. It provides excellent color grading options and tethering capabilities for studio work. If you’re serious about color accuracy, this is a tool to consider.
Are There Free Editing Tools?

Absolutely! Here are some top free options you can try:
- GIMP: This powerful tool is similar to Photoshop and great for complex edits.
- Darktable: A free alternative to Lightroom that also supports RAW images.
- Canva: While mainly for graphic design, Canva has photo editing features that are easy to use.
These free tools prove that you don’t have to break the bank to edit your photos beautifully.
How Do You Choose the Right Tool?
Choosing the right editing tool depends on your needs. Ask yourself:
- What type of edits do I want to do?
- Am I looking for something simple or more advanced?
- Do I prefer a one-time purchase or a subscription model?
Try out a few options to see which one feels right for you. Many tools offer free trials, so take advantage of that!
What are Some Basic Editing Techniques?
Now that you have the tools, lets talk about some basic techniques you should know:
1. Crop and Straighten
Cropping helps you focus on the subject. Straightening ensures that horizons are level. Both techniques can make your photos look more professional.
2. Adjust Exposure and Contrast
Exposure affects how bright or dark your photo appears. Contrast adds depth by making dark areas darker and light areas lighter. A small tweak can significantly enhance the overall appeal.
3. Color Correction
Sometimes, colors in the photo don’t match what you saw. Use your editing tool to adjust colors. Make them pop or soften them depending on the mood you want to convey.
4. Sharpening
Sharpen your images to enhance details. Be careful not to overdo it, or it can create an unnatural look.
How Can You Learn to Use These Tools?
Learning to edit takes practice. Here are some tips to get started:
- Take online courses or watch tutorial videos.
- Join photography forums for tips and feedback.
- Experiment regularly and try different techniques.
don’t be afraid to make mistakes. They are often the best teachers!
what’s the Importance of Consistency in Editing?
Consistency in editing gives your photos a signature look. If you want to build a recognizable style, stick to a set of techniques. This way, your photos will feel cohesive when viewed together.
Consider creating a preset or filter that captures your editing style. Many software options allow you to save your settings for future use.
How Do You Save and Share Your Edits?
Once you finish editing, saving your work correctly is crucial. Heres how:
- Use high-resolution formats for prints (like TIFF).
- Save JPEG versions for web sharing.
- Back up your files to avoid losing your hard work!
Sharing your edited photos can lead to new opportunities. Consider joining social media groups or photography contests to showcase your talent.
What Are Some Common Editing Mistakes?
Even experienced photographers make mistakes. Here are a few to watch out for:
- Over-editing, which can make images look unnatural.
- Neglecting to adjust for different lighting conditions.
- Forgetting to save original files before editing.
Being aware of these pitfalls can help you improve your editing skills faster!
Where Can You Find Inspiration?
Finding inspiration is key to developing your style. Here are some great sources:
- Photography blogs and websites.
- Social media platforms like Instagram and Pinterest.
- Photography books that showcase different styles.
Study the work of others, but always remember to develop your unique voice.
Ready to Start Editing?
Editing is a crucial part of photography. It allows you to enhance your images and showcase your vision. With a good set of tools and some practice, you can turn ordinary photos into extraordinary ones.
Are you ready to dive in? Start exploring these tools and techniques today!
For more tips on photography and editing, check out our related post on Photography Tips for Beginners.
Happy editing!